


Candle tunneling — it's that pesky problem that if left unaddressed can turn any beautifully crafted candle into a hollowed out mess. With a deep molten wax pool in the center, and a ring of untouched wax clinging to the sides. Not only does it look a bit sad, but it also means you're not getting the most out of your candle. And we hate to waste a good thing. But don’t worry! We're here to guide you through what is tunneling, how do you fix candle tunneling, and how do you prevent candle tunneling, so you never have to deal with it ever again.
Why Does Candle Tunneling Happen?
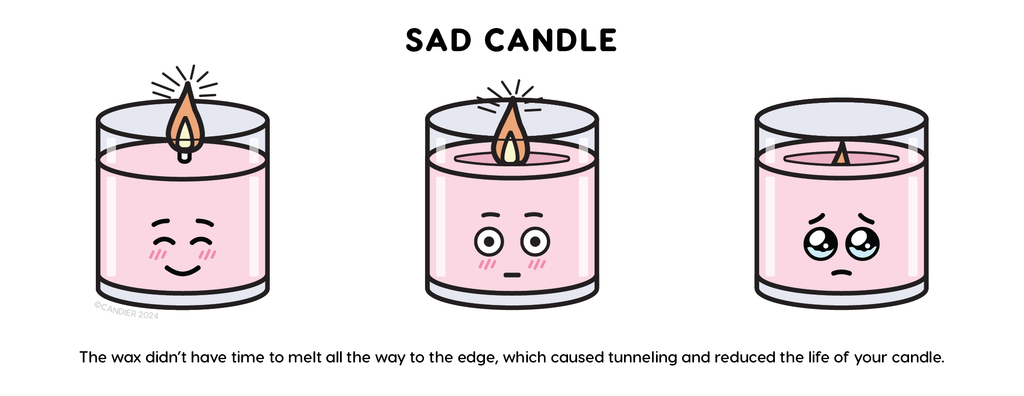
Imagine lighting your scented candles and setting the mood, only to find that it's burning straight down the middle. This candle drama occurs when the wax doesn't melt all the way to the container's edges, especially during the first burn. Candles have a good memory; they'll continue to burn the same way they started. So start them off right…

If the initial burn doesn't create a wide enough melt pool, you're setting the stage for future tunneling. Factors like the wax type, the wick's size, and even the room's temperature can also influence this unwelcome occurrence.
How To Fix Candle Tunneling
Caught early, candle tunneling is more an annoyance than a disaster. Here are some nifty tricks to get your candles back on track:
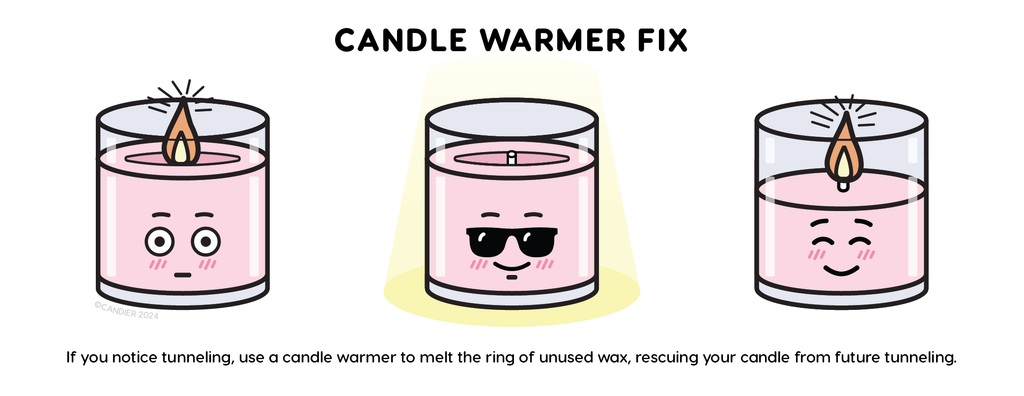
- The Candle Warmer Method (Our fave go-to!)
This is hands down our recommendation for rescuing a tunneling candle. It's an easy, mess free solution. But it does require a candle warmer. If you’ve not seen these, they're kinda like a desk lamp but with a really warm bulb that hangs over candles and melts the top layer of wax. If you don’t have one of these, they’re great, definitely check them out – especially if you’re in a dorm or anywhere else where open flames aren’t allowed, or could be especially dangerous. If you don’t have a candle warmer, you could always try…
- The Foil Wrap Trick (low tech but work)
A bit of aluminum foil can work wonders. Cut a piece of foil large enough to cover the top of your candle. Then carefully wrap the top of the candle vessel with foil, leaving an opening big enough for you to light the wick and for the flame to breathe through (make sure the flame doesn’t touch the foil). This makeshift hat helps distribute the heat evenly, encouraging the stubborn wax around the edge to melt into a pool, where the wick can effectively burn it. Keep it going until you see improvement (no more than a 4 hour burn time). Careful removing the foil – It’ll be hot (I know, duh).

- The Hair Dryer Method (It’s just OK TBH)
Grab your hairdryer (yes, really) and give the top layer of the candle a warm blow-over. This gentle heat will help melt the wax evenly across the surface, hopefully solving the tunneling issue with minimal fuss.This option is pretty time consuming and requires you to do most of the work, so it’s not our preferred method. But usually works with a bit of patience. Don’t be tempted to get the dryer too hot or too close to the candle, and keep the air flow directed on the wax.
Using this method can also remove frosting from soy and other types of wax that is prone to white crystals forming, too.
- The Oven Technique (Not a fan)
I don’t recommend this option. But some people keep it in their back pocket as a last resort. If you're going to try this ensure your oven is on a super low setting, place your candle on a baking sheet, and let the gentle heat melt the wax evenly. Just keep a close eye on it — you're melting wax, not baking cookies! If the oven is too hot you run the risk of any labels burning, and even cracking of shattering glass. We’d avoid this option if we were you, too much can go wrong.
Prevent Tunneling Before It Starts
The best way to deal with candle tunneling is to not deal with it at all. Prevention is key:
- Give your candle a proper first burn. Let it burn long enough so the wax melts across the entire surface. Make burning candles a ritual for relaxation, slow down and take some time. No need to rush it.
- Trim the candle wick to about 1/4 inch before each burn. This helps ensure an even burn and prevents the wick from becoming a dangerous, smokey torch. We recommend using a wick trimmer like this one, but small scissors or even nail clippers can do the job in a pinch.
- Keep your candles away from drafts. Uneven air flow can lead to uneven burning.
By understanding the cause of candle tunneling and knowing how to fix it, you can ensure that your candles burn beautifully and efficiently every time. Remember, paying attention goes a long way in extending the life and enjoyment of your candles, and keeps you and your family safe (never, ever leave a candle burning unattended).
Keep these tips in mind fellow candle enthusiast, and you'll be set for longer, happier candle-lit cozyness. For more candle care tips, check out our recommendations for general candle care here xo


Leave a comment
All comments are moderated before being published.
This site is protected by reCAPTCHA and the Google Privacy Policy and Terms of Service apply.